Welcome back! Last week we talked about “the day after” and how we are going to manage going back into the real world after this is over! If you missed that blog and would like to catch up, click HERE.

This week, as promised, we are going to give you a tutorial on how to make face coverings for children. The question that has been weighing on parents’ minds is, “should my child wear a face cover?”. For the answer to this question, I went to the CDC. Here’s their recommendation:
“We now know from recent studies that a significant portion of individuals with coronavirus lack symptoms (“asymptomatic”) and that even those who eventually develop symptoms (“pre-symptomatic”) can transmit the virus to others before showing symptoms. This means that the virus can spread between people interacting in close proximity—for example, speaking, coughing, or sneezing—even if those people are not exhibiting symptoms.
“In light of this new evidence, CDC recommends wearing cloth face coverings in public settings where other social distancing measures are difficult to maintain (e.g., grocery stores and pharmacies) especially in areas of significant community-based transmission.
“Face coverings should not be placed on young children under age 2, anyone who has trouble breathing, or is unconscious, incapacitated or otherwise unable to remove the mask without assistance.”
There you have it. We should all be wearing cloth face coverings above the age of 2. That said, let’s talk about the face covering sizes for children, as they will be substantially different than adult models.
First, you want to gather your supplies. For children, you will need a piece of cardboard or poster board that will be in two sizes. The first is for children ages 2 to 9. This pattern should be 9×5 inches. The second pattern is for older youth, ages 10 to 13. This pattern should measure 9×6.5 inches. (Adult patterns are 9×8 inches)
The elastic used for children should be much thinner than adult elastic. For children, I recommend ⅛ inch soft elastic. This will aide in them wanting to keep it on, as it won’t hurt their ears. Adults can process being uncomfortable for a short time, but with children, it needs to make better sense to them as to why they should want to do this, especially if it hurts their ears!
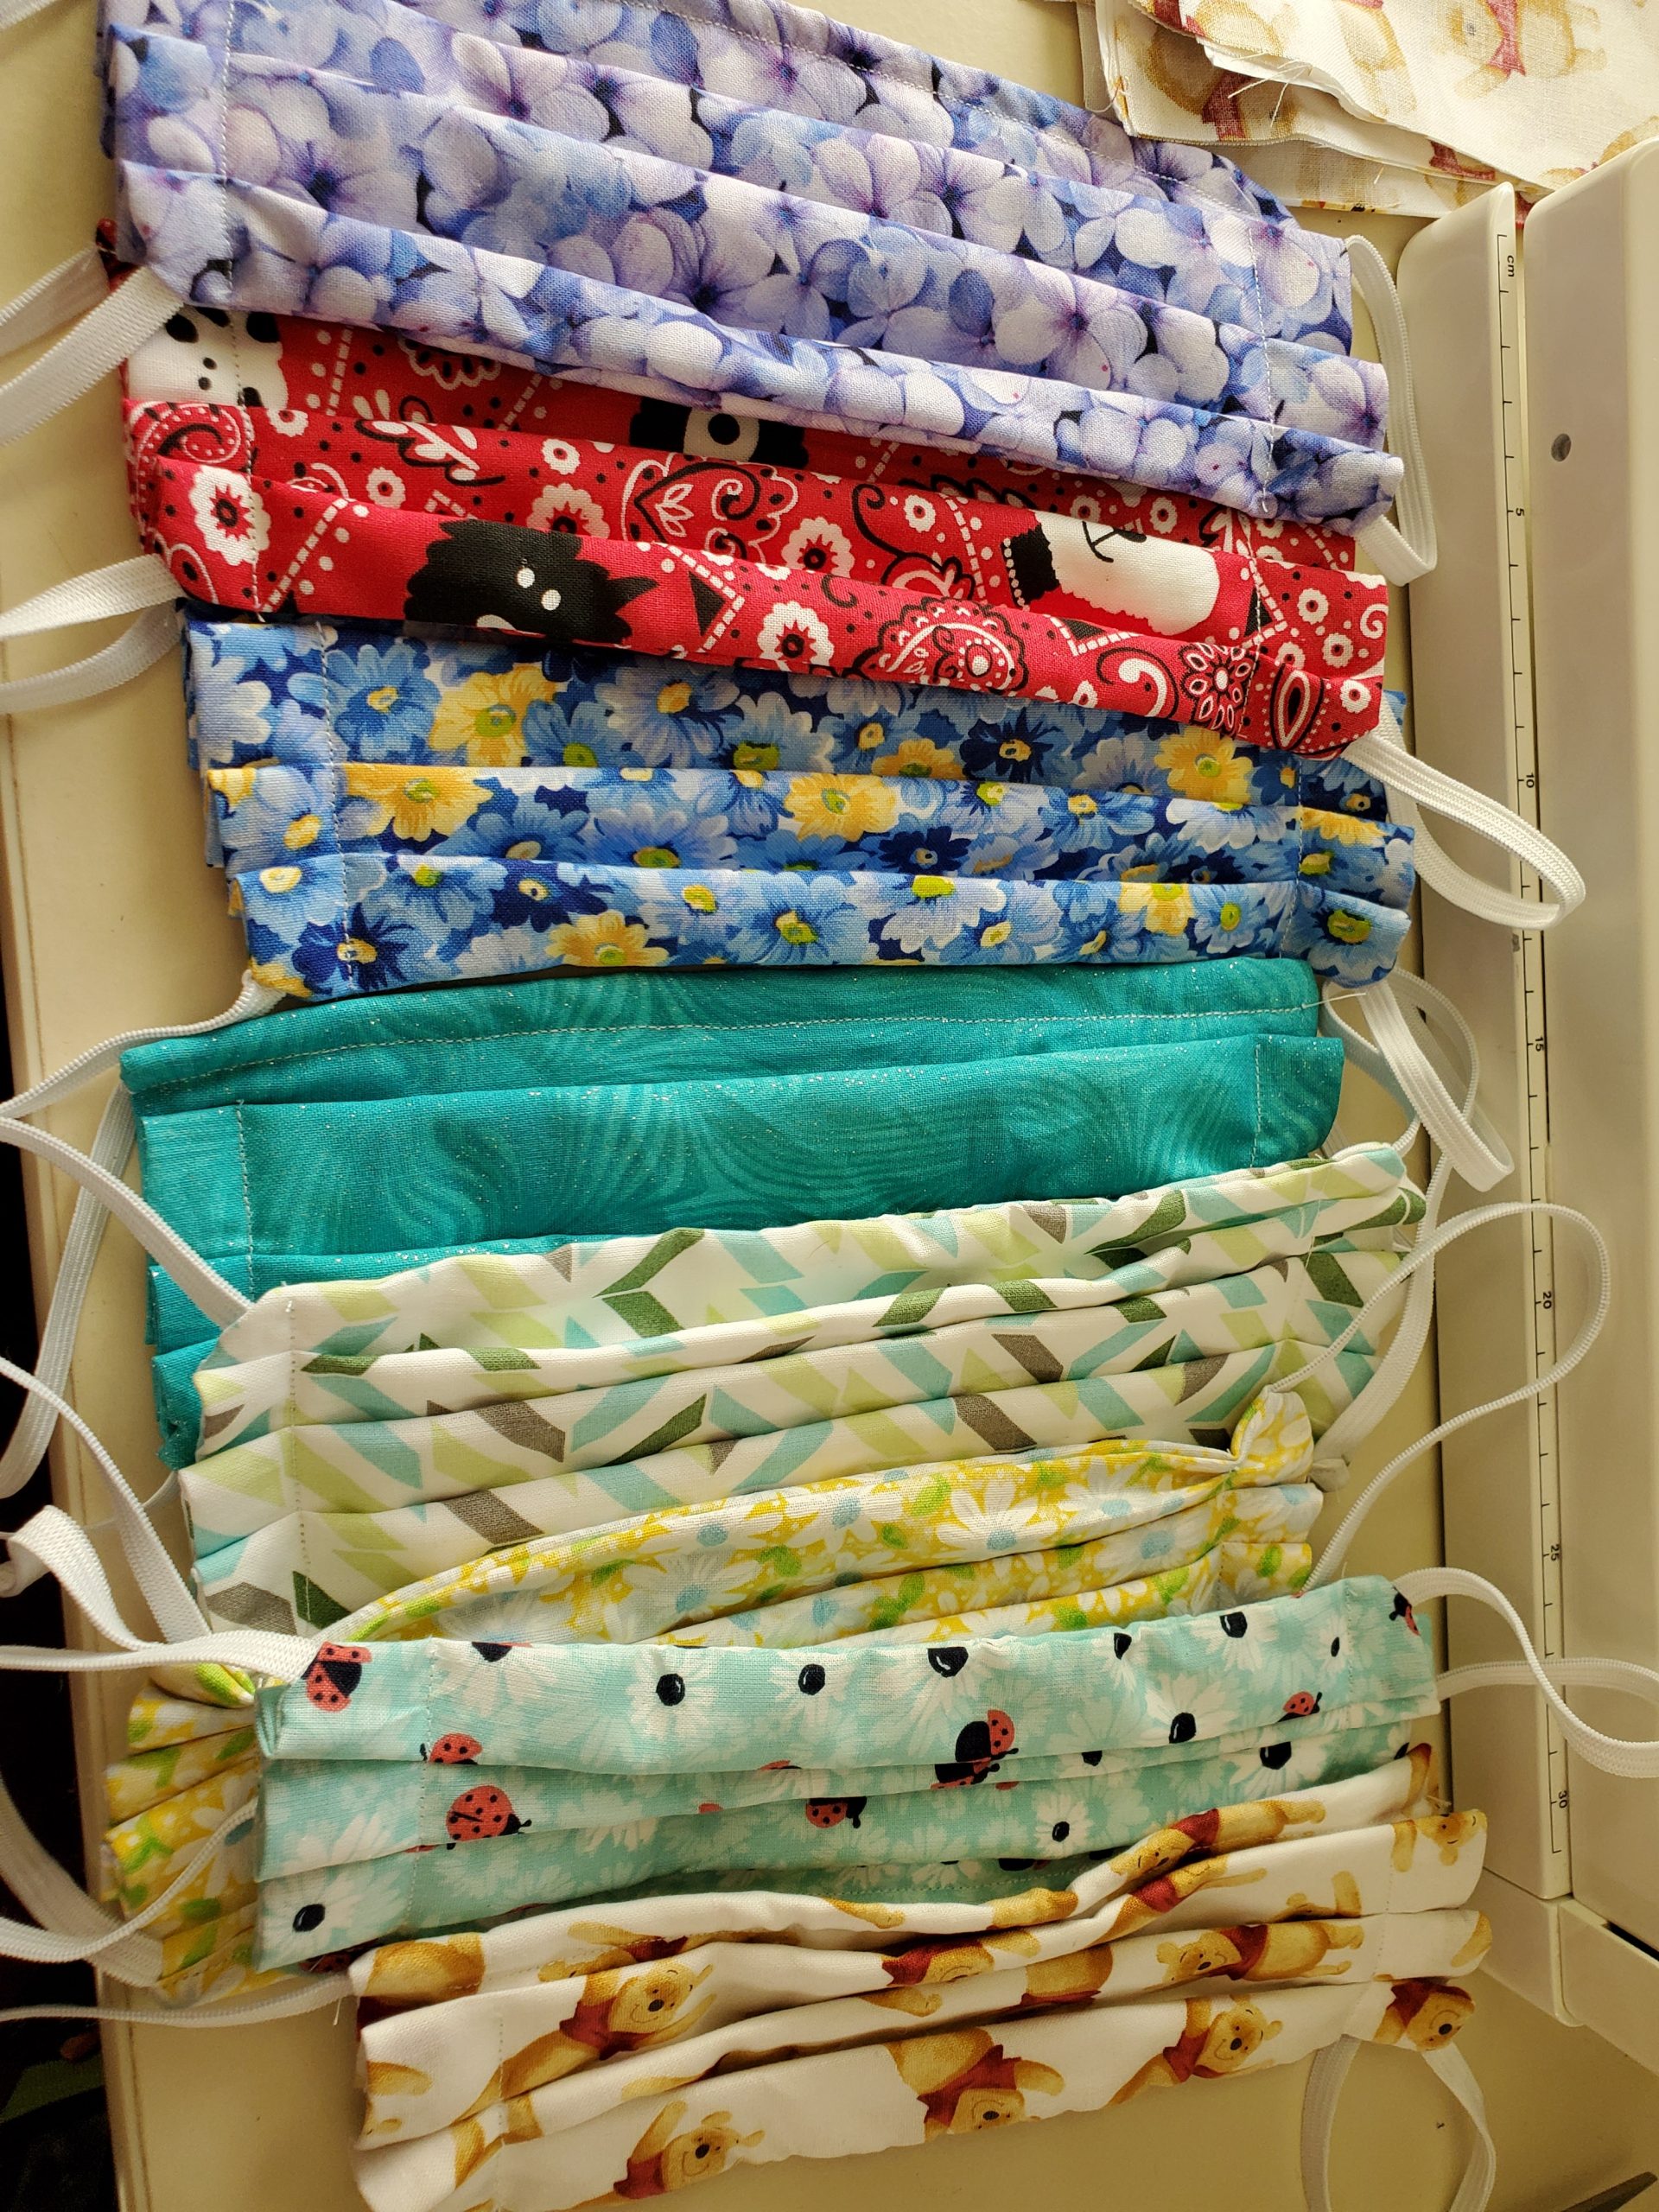
Next you will want to have your fabric, 100% cotton and hopefully a fun pattern, like Winnie the Pooh. I made a cover for a local family, and specifically made it out of Pooh. To encourage the children to wear their covers, the parents told them they were going on a bear hunt, so they needed their bear covers! Our community placed bears in their windows for youth to go on car rides with their parents and count how many bears they could find, so this ploy worked out wonderfully! Everyone knows if you are hunting bears, you need a bear cover for your face.
Lastly, you need a moisture barrier and a wire for the bridge of the nose to help seal the cover to the face.
OK! You are ready to start watching our do it yourself videos. Let’s make some covers for the little people in our lives!
And there you have it! It’s as easy as that. Now, please remember, do not mask up a child under the age of 2, as that can be very dangerous. Thank you for reading us, we truly do appreciate you all. Stay safe, and we’ll see you next time…
If you found this blog to be informative or just a relaxing way to waste time, please do me a favor and share it on your Facebook page? To share, just click on the Facebook icon located right below this paragraph. Much appreciated!
Thank you for that tutorial. It was very informative, and “fun” to watch!!